


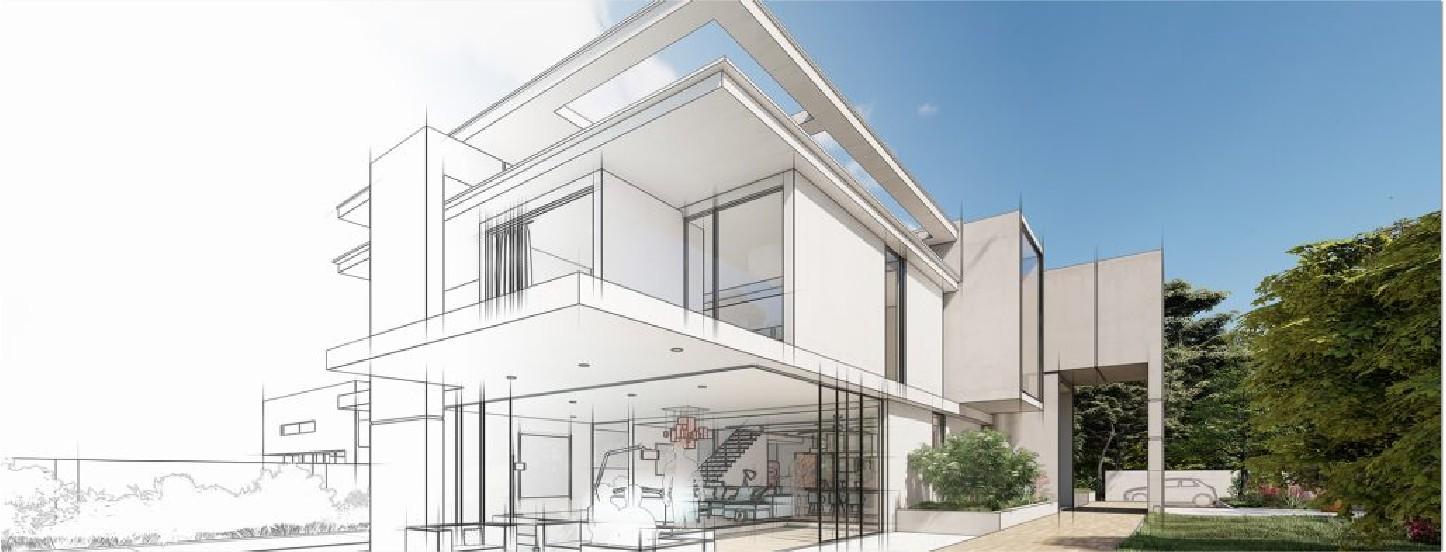
From Idea to Atmosphere
For architects, a drawing is never just a drawing. It is an invitation into a space that does not yet exist. But clients, students, and even colleagues often struggle to visualise plans and models in their raw state. That is why rendering has become central to architectural communication.
Among the many tools available, SketchUp remains the go-to for fast, intuitive modelling, while Lumion has emerged as one of the most powerful rendering engines for atmospheric, real-time visualisations. Together, they form a workflow that is both efficient and visually striking.
Step 1: Preparing the Model in SketchUp
Before importing into Lumion, the SketchUp model must be clean and well-structured. Poorly prepared files often lead to heavy, slow renders later. Key preparation steps include:
Organise Layers and Groups – Assign walls, furniture, glazing, landscape elements to layers/tags. This makes it easier to apply materials and toggle visibility later in Lumion.
Purge Unused Components – Delete hidden geometry, unused materials, and redundant groups to reduce file size.
Scale and Proportion Check – Ensure all dimensions are correct; Lumion reads true scale.
Set Camera Views – Save key SketchUp scenes; these can be imported into Lumion for consistent camera angles.
Think of this stage as setting the bones of your design. The clearer and lighter your model, the more effortless your rendering experience will be.
Step 2: Exporting the Model
SketchUp models can be exported directly in .SKP format for Lumion. Alternatively, for larger projects, exporting as a Collada (.DAE) file ensures smoother performance.
For LiveSync: Install the Lumion LiveSync plugin for SketchUp. This allows you to see real-time changes in Lumion as you model in SketchUp.
For Static Export: Save the final model as .SKP or .DAE, ready for direct import.
Step 3: Importing into Lumion
Once inside Lumion:
Import the Model – Use the Import New Model button, then place it into your Lumion scene.
Scale and Placement – Check that the model sits correctly on Lumion’s terrain. Adjust elevation to avoid “floating” or “sinking.”
Orientation – Rotate or reposition if north direction or context needs alignment.
Step 4: Applying Materials
SketchUp’s materials are placeholders. In Lumion, they gain realism:
Replace Materials – Swap SketchUp textures with Lumion’s high-quality material library (wood grains, glass, metals, concrete, etc.).
Fine-Tune – Adjust glossiness, bump maps, and reflectivity. For instance, a polished marble surface and a rough limestone block can behave very differently under light.
Custom Materials – Import bespoke textures (tiles, fabrics, finishes) to match the design intent.
Step 5: Adding Landscape and Context
A building rarely exists in isolation. Lumion’s vast asset library allows you to create context quickly:
Terrain Editing – Sculpt land, add hills, or flatten plots.
Vegetation – Use realistic trees, shrubs, and grasses; add variety to avoid repetitive patterns.
Water and Roads – Integrate rivers, pools, or urban roads for context.
Step 6: Lighting the Scene
Lighting can make or break a render. Lumion offers multiple options:
Sunlight – Adjust time of day, shadows, and sky conditions.
Artificial Lights – Place spotlights, area lights, or omni lights for interiors and landscapes.
Global Illumination – Refine ambience with effects like skylight or hyperlight for realism.
Step 7: Rendering Still Images
Once satisfied with composition:
Set Camera Views – Import SketchUp scenes or create new ones in Lumion.
Adjust Effects – Apply depth of field, exposure, and reflection controls.
Render Output – Export at high resolution for presentations or print, or standard resolution for digital sharing.
CANTER CADD being ISO 9001:2015 certified, the best CAD training institute can make a candidate’s profile strong and eligible to grab the trending jobs in the market. Moreover, the courses are offered by highly skilled and trained professionals to offer valuable knowledge to the candidates.
Locate CANTER CADD – The Best ansys Training Institute in Hyderabad-Mehdipatnam-Ameerpet-Himayatnagar-Dilsukhnagar-Habsiguda-Boduppal-ECIL-Santoshnagar-Chandanagar-Alwal-Kukatpally-Secunderabad-Warangal-Hanamkonda, Bangalore-Marathahalli-BTMLayout-Electronic City-Yelahanka-Banashankari-JPNagar-Srinagar-Hulimavu-Chamrajpet-Horamavu-Vidyaranyapuram, Andhra Pradesh-Guntur-Nellore-Kurnool-Rajahmundry-Tirupati-Dwarakanagar-Vizag-Vijayawada, Delhi NCR-LaxmiNagar-RajendraPlace-Rohini-Adhchini-Kalu-Sarai-, Pune-Akurdi, Tamil Nadu-Coimbatore, Uttar Pradesh--Gazhiabad-Meerut, Kerala, , Mumbai, Nagpur.