


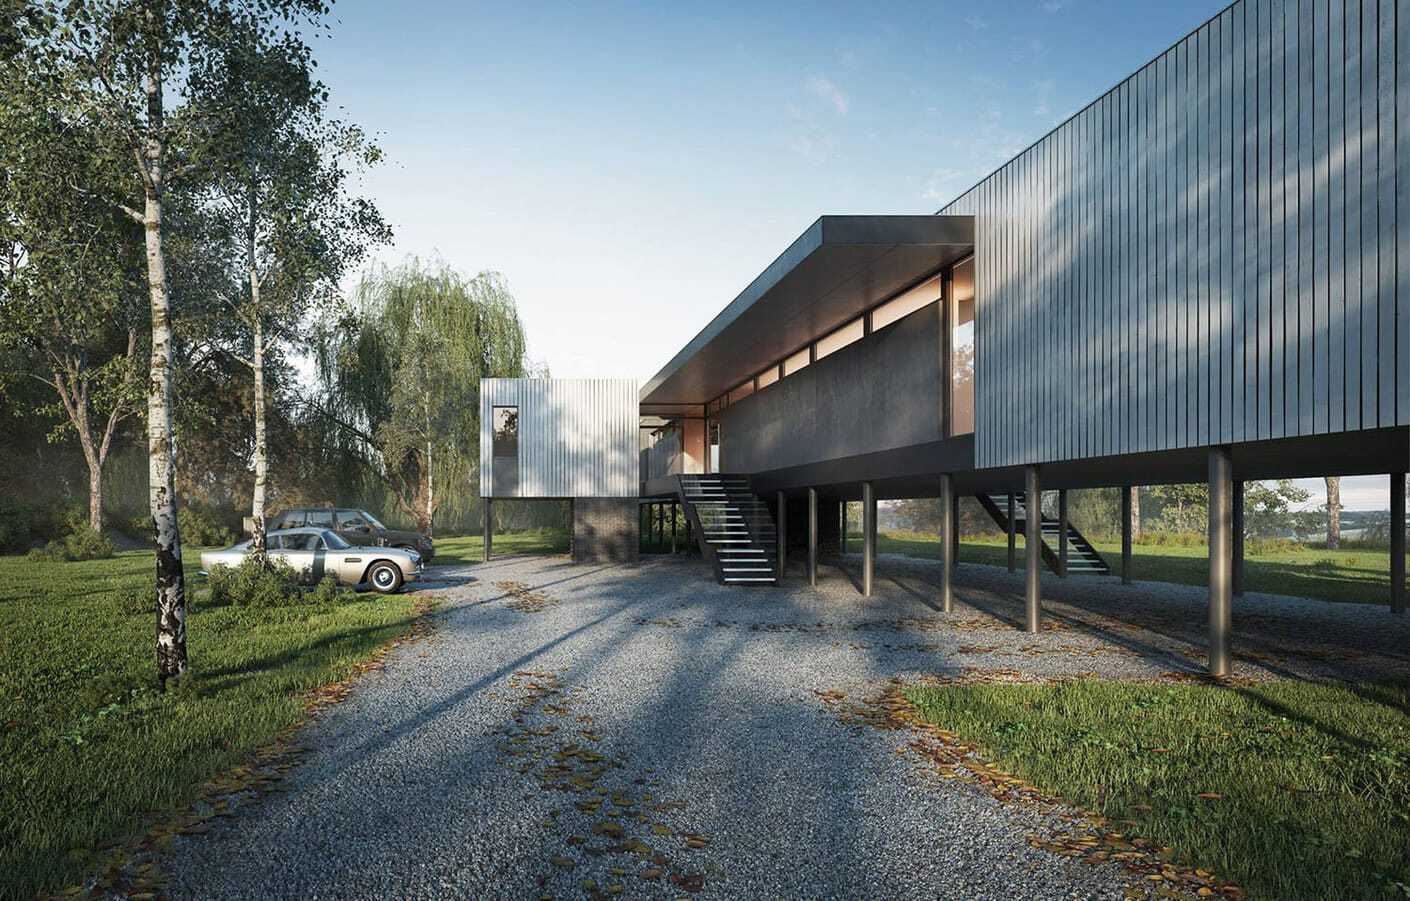
Summary:
Architectural rendering begins with understanding key techniques and selecting the right software, such as V-Ray, to bring your designs to life.
Efficient project management involves organizing 3D assets and models, which streamlines the rendering process and facilitates collaboration.
Lighting is crucial for photorealistic images; using V-Ray Sun and Sky or HDRI maps can create realistic lighting conditions.
Post-processing, including color correction and light mixing, is essential to finalize and enhance the quality of your rendered images.
If you are starting out in the world of rendering, some of the most common questions you might have are: How should I begin? Which techniques are popular at the moment? How can I be sure that what I am doing is correct?
There are many types and styles of renders that we see in different galleries. Although all of them are correct and necessary for our clients, it is also good to define a starting point. That is why in this series of articles I will explain the basic principles of using architectural rendering software that will help you define your learning path.
We will start with the workflow for exterior architectural renderings, and then move onto interiors in part two. We recommend starting here, but you can jump directly to the interiors basics article if that’s your area of focus. You can also take a look at our back-to-basics guide on how to do an architectural render.
Modeling and 3D platforms
If you are an architecture or design student, or a professional, you probably already know and handle some 3D platforms such as SketchUp, 3ds Max, Rhino or Revit. There is a wide debate about which is the best, but the reality is that most of them work perfectly when you are starting. Don't worry about your choice at this time, with experience you find your perfect platform.
the most popular architectural modeling platforms for visualization, offering the same behavior, tools, and results in each of them. It also allows you to exchange information about your scenes in a transparent way, which can be important if you are working with several architectural firms.
Project management
Current methodologies for the development of photorealistic images require a wide variety of 3D assets, complex models like trees, cars, furniture, etc. Today, we work with more information than before, therefore, it is important to create an efficient structure and order of our documentation.
It’s a good idea to create folders and sub-folders on a per-project basis, and efficiently rename your models and the components of your models. This will make the whole rendering process smoother and will give you the possibility to exchange geometries between platforms more easily.
Starting the rendering
Based on your experience, you probably have a rendering result in mind. However, a recommendation that will always help us to create better images is the use of references.
Start looking for images of everything that you will use, such as vegetation, types of day/night lighting, examples of materials, and examples of existing designs. Gather anything you like and think will help bring your project to life.
Creating our cameras
Once we have our 3D model finished, we must position our camera. Doing this at the beginning ensures we have a defined route for the rest of the scene. In later exercises you can create several camera angles; this involves more work but with practice, you can master the process.
In order to achieve good framing, you need to consider photography’s essential rules of composition; the rule of thirds, golden ratio, diagonals and triangles, etc.
In V-Ray 6 you can take advantage of the new Composition Guides layer included in the V-Ray Frame Buffer, which is useful for establishing your best framing.
Great, we have created our camera and now it is time to go to the next step. Keep in mind that for every step we will probably have to go back to the camera parameters and adjust our rendered image.
Working on lighting
Lighting is one of the most important factors for the success of a photorealistic image. There are many types of exterior lighting: sunrises, sunsets, a radiant sun, night, or with variations in climate and atmosphere. But we always need to start with one, and it is perhaps the most common: daytime lighting with a blue sky.
For daytime lighting, we need two elements; a light source and an ambient sky. V-Ray Sun and Sky is the easiest way to create the conditions for exterior lighting. Also, if we wish, we can create beautiful cloudy skies to add atmosphere to our scene with the included procedural clouds.
Once you have created your physical sun and sky, let’s assign the sun direction — usually, we will point it directly at the 3D model. We can adjust the size of the sun to achieve softer shadows and it will give us a much more attractive result.
CANTER CADD being ISO 9001:2015 certified, the best CAD training institute can make a candidate’s profile strong and eligible to grab the trending jobs in the market. Moreover, the courses are offered by highly skilled and trained professionals to offer valuable knowledge to the candidates.
Locate CANTER CADD – The Best ansys Training Institute in Hyderabad-Mehdipatnam-Ameerpet-Himayatnagar-Dilsukhnagar-Habsiguda-Boduppal-ECIL-Santoshnagar-Chandanagar-Alwal-Kukatpally-Secunderabad-Warangal-Hanamkonda, Bangalore-Marathahalli-BTMLayout-Electronic City-Yelahanka-Banashankari-JPNagar-Srinagar-Hulimavu-Chamrajpet-Horamavu-Vidyaranyapuram, Andhra Pradesh-Guntur-Nellore-Kurnool-Rajahmundry-Tirupati-Dwarakanagar-Vizag-Vijayawada, Delhi NCR-LaxmiNagar-RajendraPlace-Rohini-Adhchini-Kalu-Sarai-, Pune-Akurdi, Tamil Nadu-Coimbatore, Uttar Pradesh--Gazhiabad-Meerut, Kerala, , Mumbai, Nagpur.